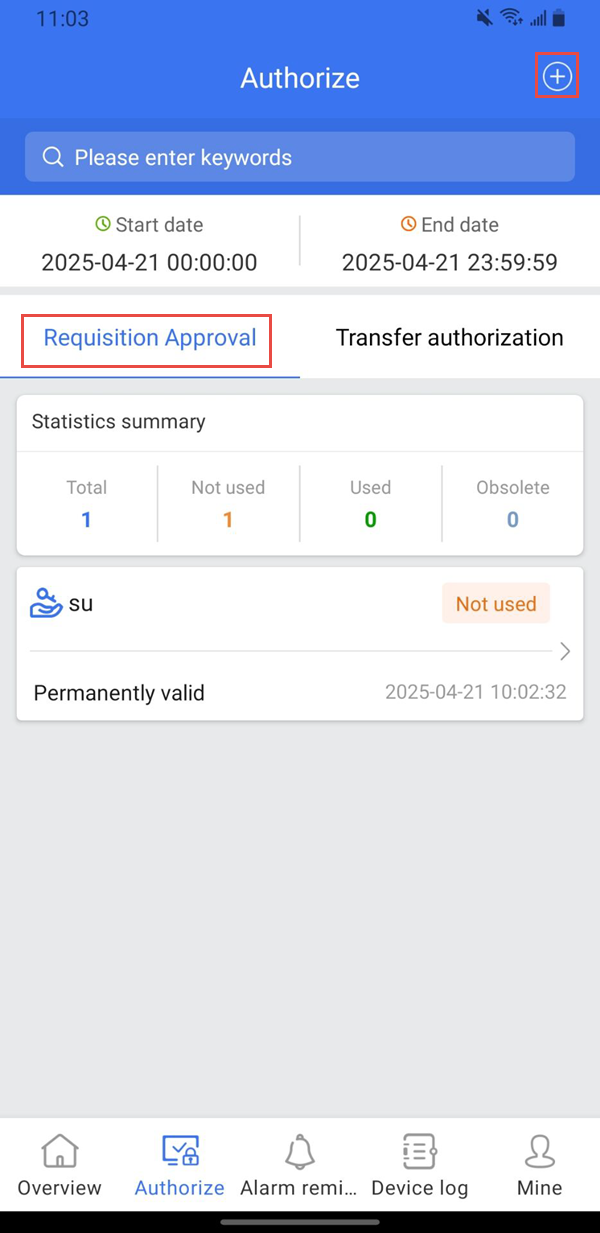
Enter the authorization management page. There are two tabs at the top: “Authorization Collection” and “Authorization Transfer”. The “Authorization Collection” page is displayed by default. The search bar at the top of the page can be used to query authorization records.
****Requisition Approval
Click the Add Authorization icon in the upper right corner to enter the new page.
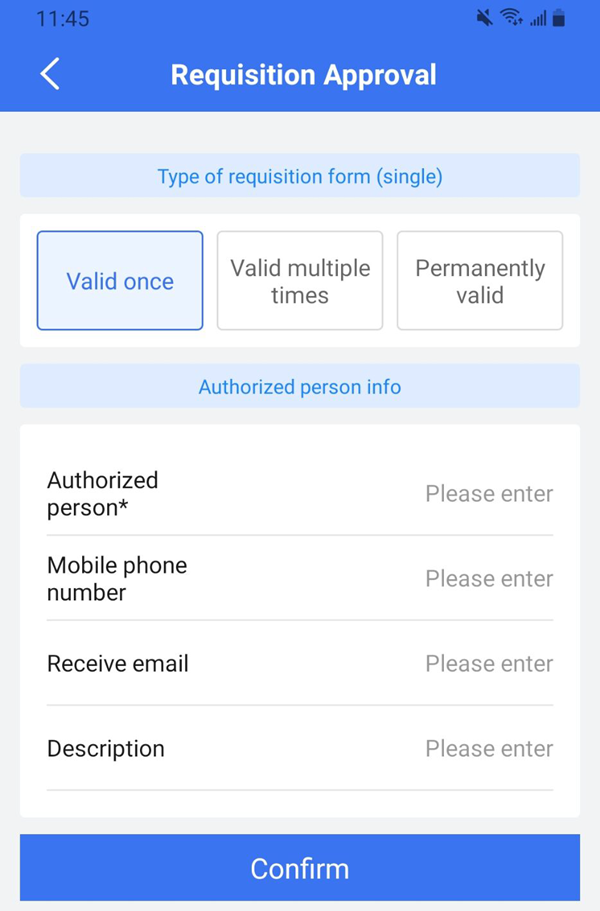
On the new page, select the device type (multiple selections are supported), the type of receipt (the specific type is not detailed here), and fill in the authorized person, mobile phone number, receiving email address and other information.
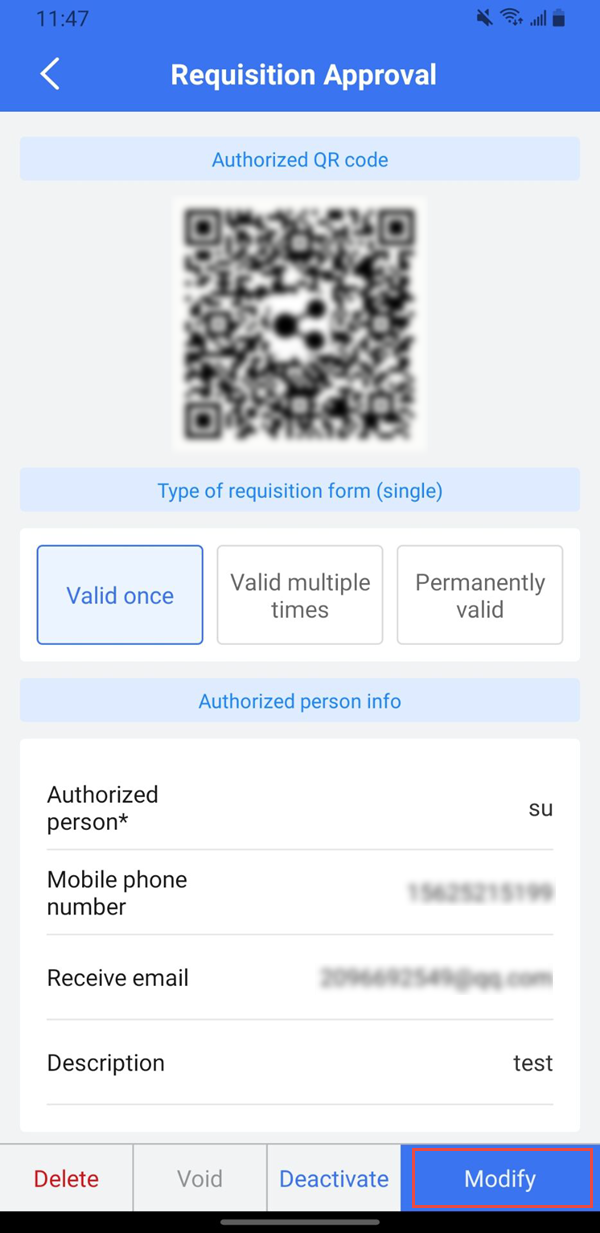
After carefully confirming that the information is correct, click “Confirm and issue authorization.” For unused authorizations, the system supports modification, cancellation, and deletion operations.
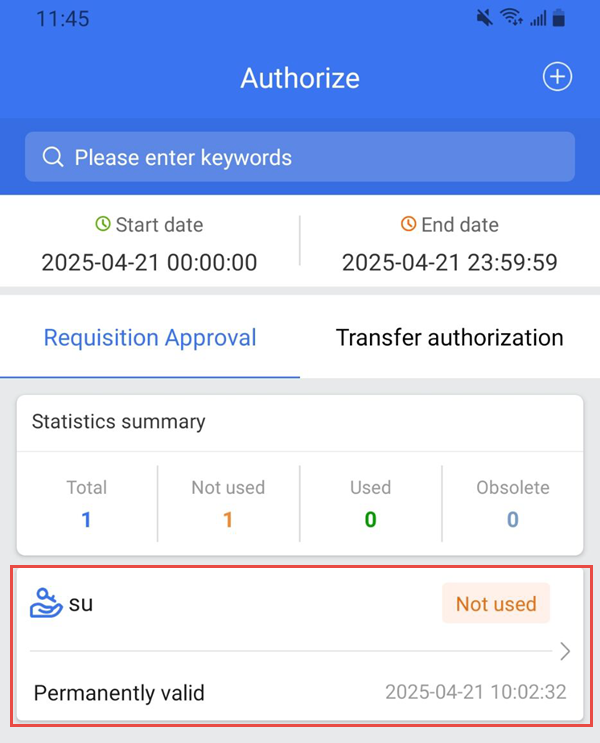
The successfully issued authorization will be displayed in the authorization list for users to view and manage.
